How to Integrate IAMMETER with Home Assistant for Real-Time Energy Monitoring
Integrating IAMMETER Wi-Fi Energy Meters with Home Assistant for Enhanced Energy Monitoring
Integrating IAMMETER Wi-Fi energy meters with Home Assistant enables real-time insights into your energy usage, solar generation, and overall power flow. This integration helps optimize energy consumption, automate smart devices, and support sustainable energy practices.
Why Integrate IAMMETER with Home Assistant
- Real-time electricity monitoring
- Custom energy dashboards with Lovelace UI
- Automations triggered by energy events (e.g., solar surplus)
- Long-term data logging for cost analysis
- Flexible integration methods: MQTT, Modbus/TCP, Local API
Integration Methods
IAMMETER supports several methods for integrating with Home Assistant, based on your technical preference and desired features.
A brief comparison of the different methods is as follows:
| Mode | Interface | IAMMETER-Cloud available | |
|---|---|---|---|
| 1 | MQTT discovery | MQTT | No |
| 2 | MQTT | MQTT | No |
| 3 | modbus/tcp | Modbus/TCP | Yes |
| 4 | core integration | HTTP GET | Yes |
| 5 | HACS | HTTP GET | Yes |
1. MQTT Discovery (Recommended)
IAMMETER meters with firmware version i.76.058.8+ support Home Assistant MQTT Discovery.
Benefits:
- Fully auto-discovered in Home Assistant
- Minimal setup effort
- Near real-time data updates
Steps:
- Upgrade to latest firmware
- Enable MQTT Discovery in IAMMETER web UI
- Connect IAMMETER to your MQTT broker (used in Home Assistant)
- Devices and sensors appear automatically
Fore more details, please refer to Enable MQTT discovery in Home Assistant

2. MQTT (Manual Configuration)
This method uses standard MQTT publishing without Home Assistant’s auto-discovery feature. It is useful for users who prefer manual control or want to customize sensor configurations in YAML.
Benefits:
- Manual control over sensor naming and configuration
- Works on older firmware versions that do not support discovery
- Lightweight and flexible
Steps:
- Enable MQTT in IAMMETER’s web interface.
- Set the MQTT broker address, username, and password.
- IAMMETER will publish topics like
iammeter/SN/Powerandiammeter/SN/Energy. - In Home Assistant, add MQTT sensors manually in
configuration.yaml, for example:
Fore more details, please refer to Home assistant mqtt sensor-IAMMETER
3. Modbus/TCP sensor
Use Case: If you need data every second, Modbus/TCP is ideal.
Benefits:
- Fast polling (1s interval)
- Reliable industrial-grade protocol
Steps:
- Enable Modbus/TCP in IAMMETER configuration
- Set up
modbus:integration inconfiguration.yaml - Define
sensor:entities using register addresses
Fore more details, please refer to request the data of IAMMETER`s energy meter from modbus/tcp in Home assistant
3. Native Home Assistant Integration
IAMMETER is officially supported in Home Assistant's core integrations.
Steps:
- Go to Settings > Devices & Services
- Click + Add Integration > Search for "IAMMETER"
- Enter meter IP address and connect
Integrate IAMMETER`s energy meter into Home assistant by Native Home Assistant Integration
4. Home Assistant Community Store (HACS)
IAMMETER also maintains a custom component for deeper customization.
Steps:
- Install HACS in Home Assistant
- Add IAMMETER repo from HACS
- Configure YAML or use UI for setup
https://www.iammeter.com/docs/summary-home-assistant#hacs-custom_integrations
Real-World Use Cases
Here are some practical applications that IAMMETER users have implemented via Home Assistant:
A. Solar PV System Monitoring
- Monitor real-time solar production, grid import/export, and household consumption.
- Visualize energy flow and optimize self-consumption to reduce reliance on the grid.
- Track daily, monthly, and yearly solar performance using Lovelace dashboards.
Monitor your solar PV system in Home Assistant
B. Control Water Heater with Solar Surplus
- Automatically turn on the electric water heater when solar generation exceeds home consumption.
- Prevents grid export and increases self-consumption.
Heat the water heater using solar surplus
C. Charge EV from Solar Energy
Use IAMMETER + Home Assistant + OCPP-compatible charger to initiate EV charging when solar export reaches a threshold.
Example: Only charge EV if export power > 3 kW for 10 minutes.
Control the EV charging power with regard to the solar PV output and grid power reading
D. Smart Appliance Scheduling
- Delay washing machine or dishwasher operation until solar generation peaks.
- Combine with time-of-use tariffs for maximum savings.
Summary
IAMMETER’s integration with Home Assistant offers:
- Real-time solar and grid monitoring
- Advanced automation based on energy flow
- Multiple flexible methods: MQTT, Modbus, native, or HACS
- Practical applications in EV charging, smart heating, and load control
For complete instructions, please visit
Summary: how to use IAMMETER`s Wi-Fi energy meter in the Home assistant
IAMMETER’s Home Assistant Integration Docs.
About IAMMETER
IAMMETER is a company focused on energy management products and services, offering smart energy meters, management apps, and cloud platforms.
Our goal is to help customers manage, utilize, and save energy effectively, reducing electricity bills through smart monitoring and analysis.
Solutions
Products
- IAMMETER Energy Meters Overview
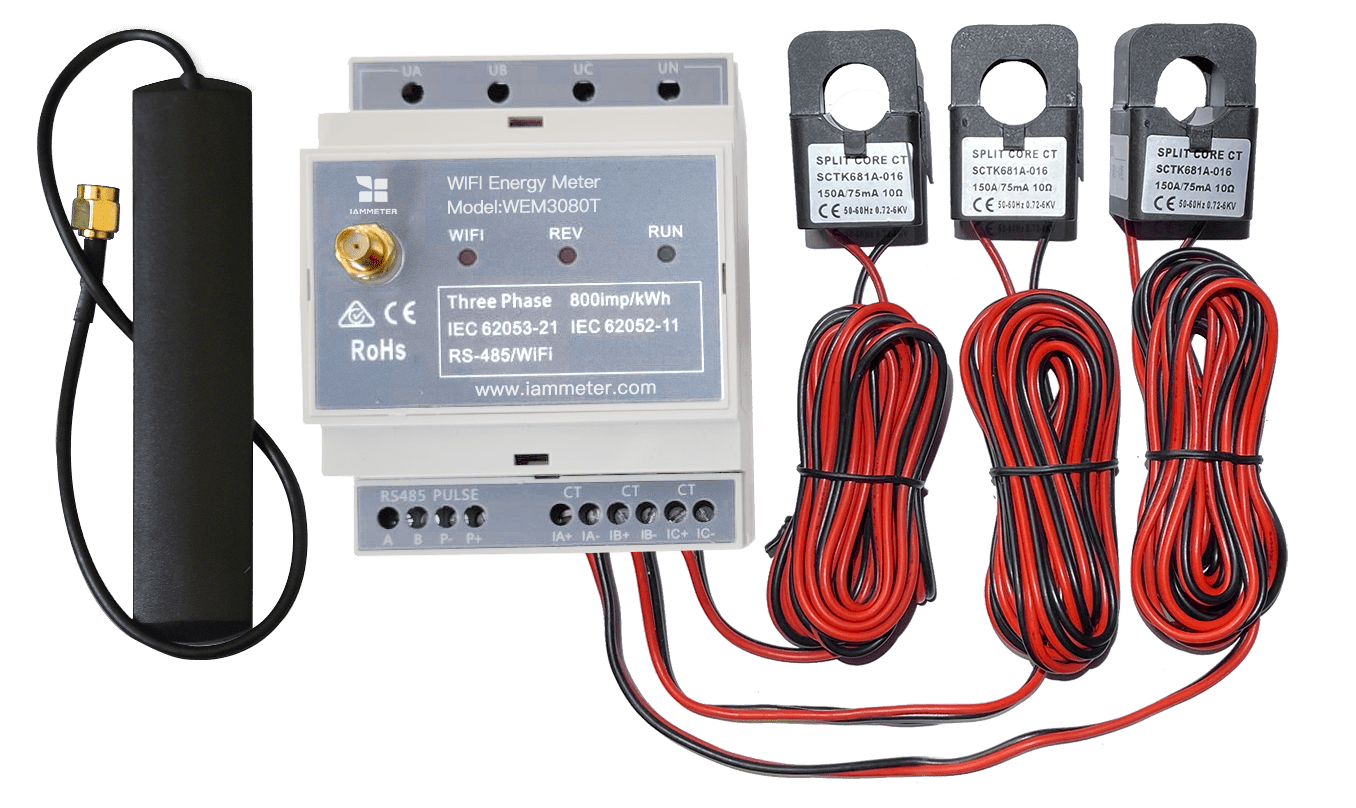
- WEM3080T – Three-Phase/Split-Phase Wi-Fi Energy Meter
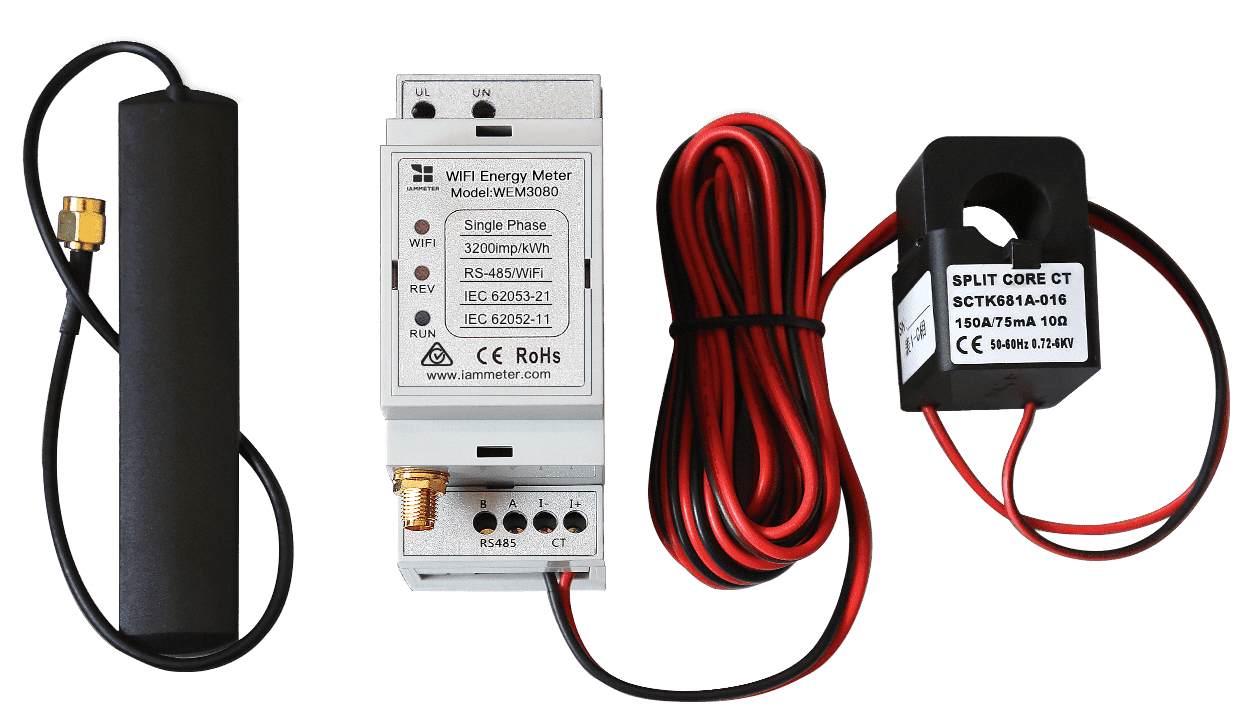
- WEM3080 – Single-Phase Wi-Fi Energy Meter
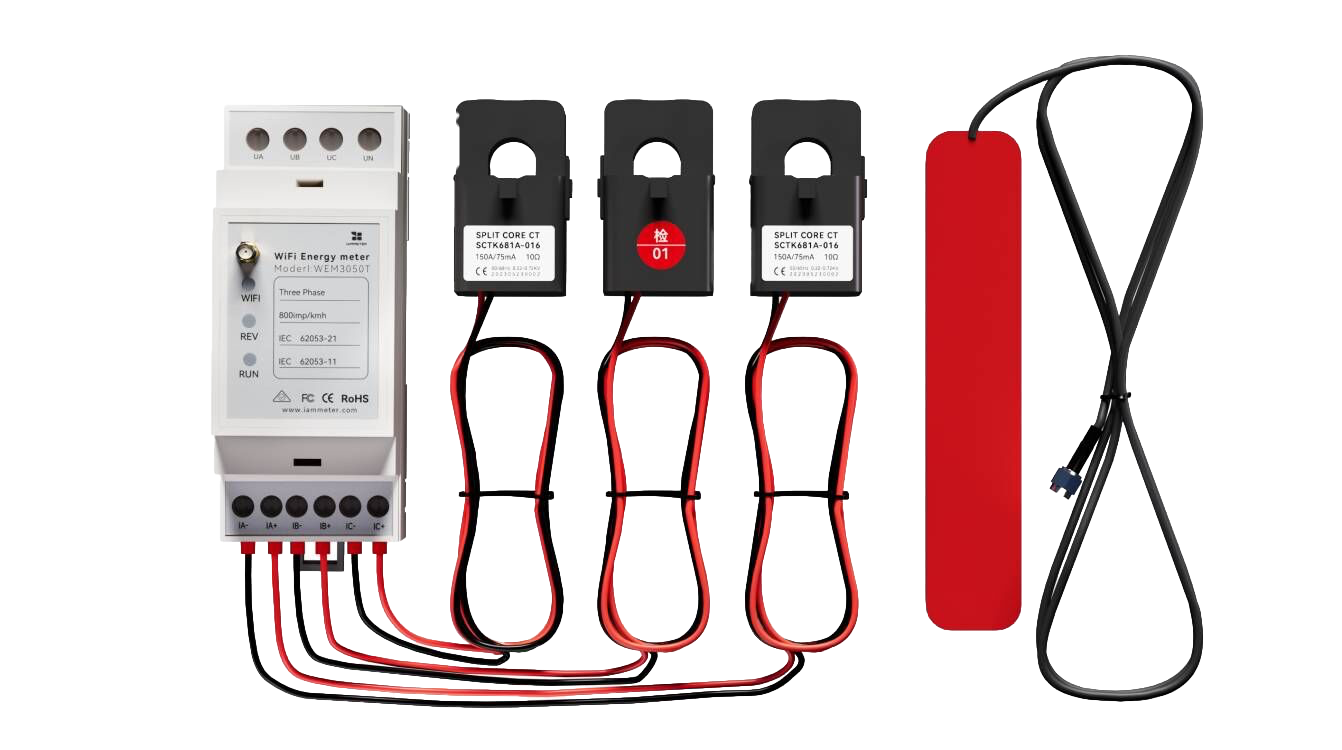
- WEM3050T – Three-Phase Energy Meter
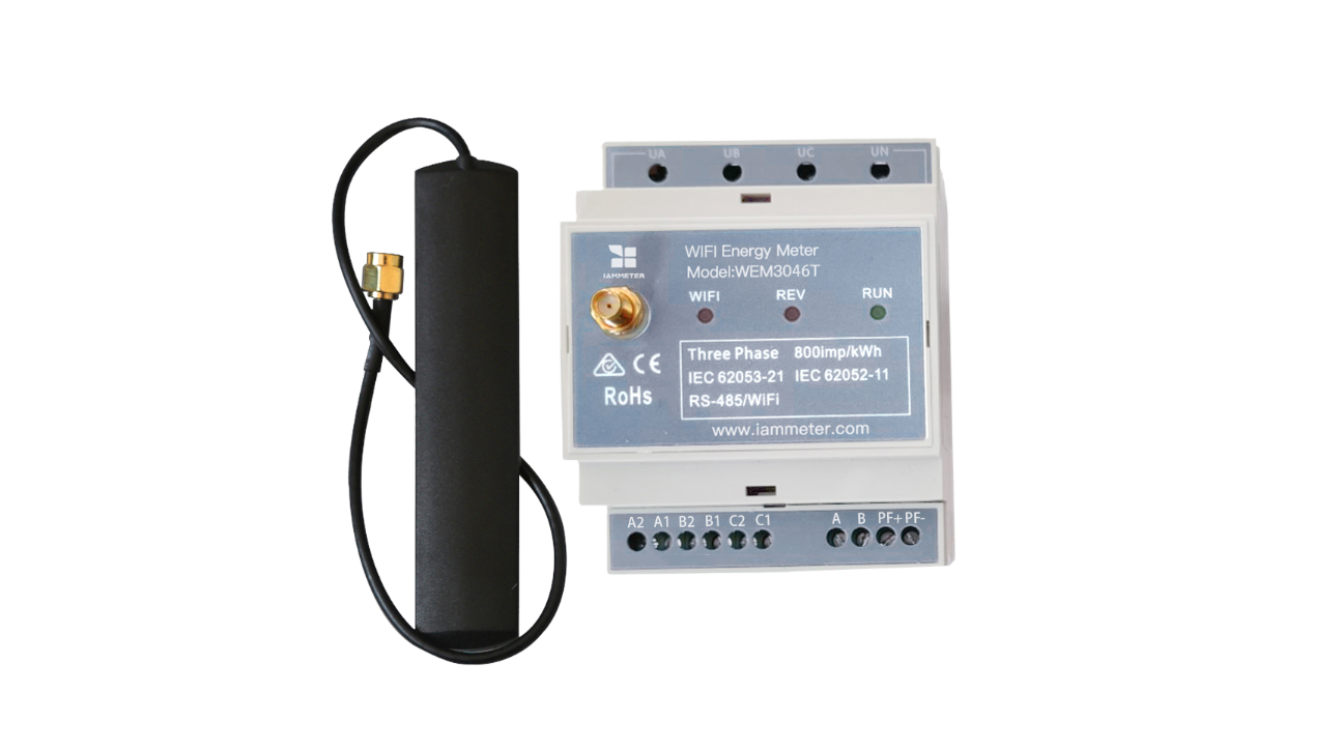
- WEM3046T – Three-Phase Wi-Fi Energy Meter with 5A Standard CT Input


